If you’re learning Android and want to build a clean, modern list (like a contacts screen or a product catalog), RecyclerView with CardView is a rock-solid approach. In this step-by-step guide, you’ll learn how to create RecyclerView with CardView in Android, wire it up in Kotlin (with a Java version too), handle item clicks, and follow current best practices. We’ll use MaterialCardView for a polished Material design look, ListAdapter + DiffUtil for efficient updates, and simple layout managers for linear lists and grids. By the end, you’ll have a reusable template you can drop into any beginner app.
What are RecyclerView and CardView?
RecyclerView is the modern, flexible container for displaying large lists or grids of items. It reuses (recycles) item views as you scroll, making it more efficient than older approaches. You plug in a LayoutManager (linear, grid, or staggered), and an Adapter with a ViewHolder to bind your data.
CardView (and the newer MaterialCardView) gives each list item a card UI with rounded corners, elevation (shadow), and ripple feedback. For Material-themed apps, prefer com.google.android.material.card.MaterialCardView. Use AndroidX CardView only if you’re not using the Material Components library.
When should you use this pattern? Any time you need a scrollable list or grid of items in a classic View-based UI: chats, feeds, catalogs, settings lists, etc. This tutorial focuses on how to create RecyclerView with CardView in Android using XML layouts, which is perfect for students and beginners working in Android Studio.
What we’ll build

We’ll build a simple “People” list using RecyclerView and MaterialCardView. The list will show a name and subtitle for each person, support item clicks, and demonstrate both linear and grid layouts. You’ll see:
- RecyclerView and CardView tutorial for beginners
- Android RecyclerView step by step guide
- CardView layout for RecyclerView item
- RecyclerView adapter example in Kotlin and Java
- Android list using RecyclerView and CardView
Prerequisites
- Android Studio (latest stable)
- Basic Kotlin or Java knowledge
- A View-based Android project (Empty Activity template is fine)
Add RecyclerView + Material Components, enable viewBinding in Gradle.
Create activity_main.xml with RecyclerView and item_user.xml with MaterialCardView.
Data class (User) with id, name, subtitle.
ListAdapter + DiffUtil + ViewHolder using View Binding; set click callback on the card.
Set LayoutManager (Linear or Grid), attach adapter, submitList(data).
Optional ItemDecoration, setHasFixedSize when safe, test clicks and scrolling.
1) Project setup: dependencies and View Binding
Add libraries in app/build.gradle
Open your app module’s build.gradle and add the RecyclerView and Material Components dependencies. Also enable View Binding for safer, faster view access in ViewHolders.
Sync your project.
2) Create your layouts (XML)
activity_main.xml: host the RecyclerView
Put a RecyclerView in your main layout. If you use View Binding (recommended), give it an ID like recyclerView.
item_user.xml: CardView layout for each RecyclerView item
Use MaterialCardView for a Material design card. Keep the item layout simple to ensure smooth scrolling.
3) Create a simple model
Kotlin data model
Java model (if using Java)
4) Create RecyclerView Adapter and ViewHolder (Kotlin)
We’ll use ListAdapter with DiffUtil.ItemCallback (recommended) so list updates are efficient without calling notifyDataSetChanged(). We’ll also use View Binding in the ViewHolder.
5) Wire up RecyclerView in Activity/Fragment (Kotlin)
Set a LayoutManager, attach the adapter, and submit a list. Use LinearLayoutManager for a vertical list or GridLayoutManager for a grid.
6) RecyclerView adapter example in Java
If you’re learning Java, here’s a minimal adapter using ListAdapter, View Binding, and a click callback.
Set up the Java Activity
7) Handle item clicks in RecyclerView CardView
We passed a lambda (Kotlin) or interface callback (Java) into the adapter and set it on binding.root (the MaterialCardView). This is the simplest way to handle item clicks in a RecyclerView list. You could also attach listeners to child views (like a button inside the card) if needed.
8) Choose a LayoutManager: LinearLayoutManager vs GridLayoutManager
- LinearLayoutManager (vertical or horizontal): Best for standard lists like messages or settings.
- GridLayoutManager: Best for image galleries, product grids, dashboards. Choose a column count based on screen size.
| LayoutManager | When to use | Pros | Considerations | Setup |
|---|---|---|---|---|
| LinearLayoutManager | Messages, settings, any simple vertical list | Fast to set up; predictable scrolling; great for text lists | Not ideal for tile-based UIs; single column/row only | recyclerView.layoutManager = LinearLayoutManager(this) |
| GridLayoutManager | Image/product grids, dashboards, cards in multiple columns | Multiple columns; works nicely with CardView tiles | Pick column count that fits padding/card width | recyclerView.layoutManager = GridLayoutManager(this, 2) |
| StaggeredGridLayoutManager (optional) | Pinterest-style, cards with varying heights | Masonry look without complex custom views | More complex to fine-tune; beware item jumps with dynamic content | recyclerView.layoutManager = |
Switching is one line of code. For example, a two-column grid:
9) Performance and polish tips
- Prefer MaterialCardView over the older CardView if you’re using Material Components. It supports shape theming, strokes, and state changes.
- Use ListAdapter + DiffUtil for updates. Call
submitList()instead ofnotifyDataSetChanged(). - setHasFixedSize(true) only if adding/removing items or content updates won’t change the RecyclerView’s overall size.
- Add spacing/dividers via ItemDecoration (as shown) so your item XML stays clean.
- Keep item layouts lightweight and avoid deep nesting for smooth scrolling.
- View Binding makes ViewHolder code safe and fast; prefer it over findViewById.
10) Going further: dynamic updates, huge lists, and sections
Updating the list dynamically
Because we used ListAdapter, you can submit a new list and DiffUtil will compute changes off the main thread:
Large or paged data (Paging 3)
For very large lists or data that loads in pages, use the Paging 3 library with RecyclerView’s PagingDataAdapter:
Hook it up with a Pager in your ViewModel and collect PagingData<User> from a Flow to submit to the adapter.
Headers, footers, and sections
If you need multiple adapters (e.g., a header + list + footer), consider ConcatAdapter instead of nested RecyclerViews for better performance and simpler coordination.
Output / Result
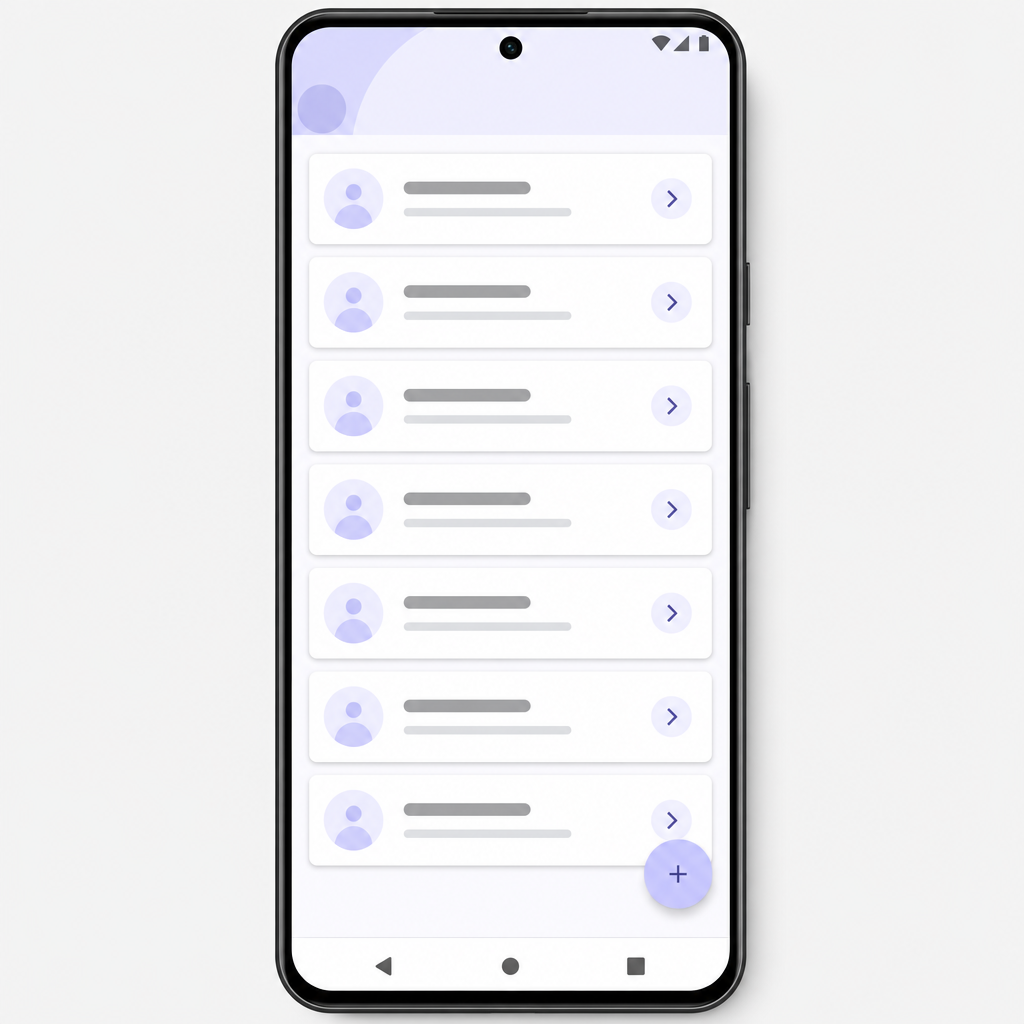
After running the app, you’ll see a vertically scrolling list of cards. Each card shows a name and subtitle with Material styling (rounded corners and ripple). Tapping a card triggers a click callback (we showed a Toast). Switching to GridLayoutManager displays the same cards in a neat grid without changing the Adapter.
- Gradle has
androidx.recyclerview:recyclerviewandcom.google.android.material:material. viewBindingis enabled inbuild.gradle.activity_main.xmlcontains aRecyclerViewwith a valid@+id/recyclerView.item_user.xmlroot isMaterialCardViewwithandroid:clickable="true"andandroid:focusable="true"for ripple and accessibility.- Adapter extends
ListAdapter<User, VH>and uses a correctDiffUtil.ItemCallback. - Click handling is set on
binding.root(the card) or needed child views. - A
LayoutManageris set exactly once (e.g.,LinearLayoutManagerorGridLayoutManager). - Attach the adapter to the RecyclerView and call
submitList(yourData). - Optional: add
ItemDecorationfor spacing; usesetHasFixedSize(true)only when safe. - Run the app and verify smooth scroll, correct card ripple, and item clicks firing.
Common mistakes to avoid
- Putting heavy work (like image decoding) on the main thread inside onBindViewHolder. Use libraries like Coil/Glide for images.
- Calling
notifyDataSetChanged()for every change. Prefer ListAdapter with DiffUtil or Paging 3. - Using margins inside each item to space rows. Prefer a RecyclerView ItemDecoration to centralize spacing.
- Always calling
setHasFixedSize(true). Only use it when item content and list size don’t affect the RecyclerView’s size.
FAQ
What is RecyclerView and why use it over ListView?
RecyclerView is a flexible, efficient list and grid container that supports view recycling, animations, multiple layout managers, and powerful adapters. While ListView isn’t deprecated, RecyclerView is the modern, more capable choice for new View-based UIs.
How do I add a CardView inside each RecyclerView item?
Create an item XML with MaterialCardView as the root (as shown in item_user.xml). Inflate that layout in your Adapter’s ViewHolder and bind the data to its child views. Using MaterialCardView gives you shape theming, strokes, and ripple out of the box.
How do I create a RecyclerView adapter in Kotlin for beginners?
Extend ListAdapter<T, VH>, implement a DiffUtil.ItemCallback<T>, create a ViewHolder class that holds a binding to your item layout, and override onCreateViewHolder and onBindViewHolder. Use submitList() to display or update items.
How can I handle item clicks in a RecyclerView list?
Pass a click lambda or interface into your adapter’s constructor and set it on binding.root (the card) or on specific child views. This keeps click logic separate from view binding and avoids memory leaks.
Which LayoutManager should I use for RecyclerView: LinearLayoutManager or GridLayoutManager?
Use LinearLayoutManager for standard lists (vertical or horizontal). Use GridLayoutManager for grid layouts like image galleries or product tiles. You can switch with one line of code.
Compose note
Jetpack Compose is recommended for new UI development (use LazyColumn + Card). However, RecyclerView remains fully supported and is excellent for existing or hybrid apps. You can also embed Compose content inside RecyclerView items via ComposeView if you’re migrating gradually.
Recap: how to set up RecyclerView with CardView in Android Studio
- Add RecyclerView and Material Components dependencies; enable View Binding.
- Create RecyclerView in your Activity layout and a MaterialCardView-based item layout.
- Build a ListAdapter with DiffUtil and a ViewHolder that binds your data.
- Set a LayoutManager (Linear or Grid) and
submitList()to display items. - Handle card clicks via a callback. Add dividers or spacing with ItemDecoration.
Sources / Further reading
- Create dynamic lists with RecyclerView (official guide): https://developer.android.com/develop/ui/views/layout/recyclerview
- RecyclerView API reference: https://developer.android.com/reference/androidx/recyclerview/widget/RecyclerView
- ListAdapter (androidx.recyclerview.widget): https://developer.android.com/reference/androidx/recyclerview/widget/ListAdapter
- DiffUtil: https://developer.android.com/reference/androidx/recyclerview/widget/DiffUtil
- Paging 3 (Views): https://developer.android.com/topic/libraries/architecture/views/paging/v3-paged-data-views
- MaterialCardView API: https://developer.android.com/reference/com/google/android/material/card/MaterialCardView
- Create a card-based layout (CardView): https://developer.android.com/develop/ui/views/layout/cardview