
Firebase Authentication is one of the fastest ways to add secure sign-up and login to your Android app. In this beginner-friendly tutorial, you’ll learn how to use Firebase Authentication in Android step by step using Kotlin and Jetpack Compose. We’ll cover email/password login and Google Sign-In with the modern Android Identity stack (Credential Manager + Google ID library), show you how to observe auth state cleanly with coroutines, and share gotchas for phone number and email link flows so you can choose the right method as your app grows.
What is Firebase Authentication and when should you use it?

Firebase Authentication is a managed identity service from Google that lets you add user sign-up and sign-in to your Android apps with minimal backend code. It supports multiple providers (email/password, Google, phone number, email link, and more), handles secure token issuance, and integrates well with other Firebase services.
Use Firebase Auth when you want:
- A quick, secure login system without building an auth server.
- Multiple sign-in options (email/password + Google + phone), with the ability to link them into one account.
- Modern Android UX with Credential Manager and easy integration with Jetpack Compose.
| Provider | Setup effort | Best for | Extra requirements | Notes |
|---|---|---|---|---|
| Email + Password | Low | Simple MVPs, student projects | Enable in Console | No billing needed; consider email verification |
| Google (Credential Manager) | Medium | Best UX on Android, quick sign-in | SHA‑1/256; default_web_client_id | Modern flow; clear Credential Manager on sign-out |
| Phone Number | Medium | Users without email, quick onboarding | SHA‑256; SMS requires billing | Use test numbers in dev to avoid charges |
| Email Link (passwordless) | Medium | Security-focused flows, fewer passwords | Authorized domains; App Links | Use Hosting-based flow (not Dynamic Links) |
Under the hood, after successful sign-in, the client receives a Firebase ID token (JWT). If your app talks to your own backend, verify this token server-side. Never trust the client-only UID for sensitive operations.
Prerequisites
- Android Studio (current stable), a basic Kotlin project (Compose recommended), and an emulator or device with Google Play services.
- A Firebase project (free Spark plan is fine for email/password and Google sign-in; note that sending SMS for phone auth requires Cloud Billing).
- Basic Kotlin/Android knowledge (we’ll keep code beginner-friendly).
Step 1: Add Firebase to your Android project
1. Create a Firebase project and register your app
- Go to Firebase Console > Add project and follow the prompts.
- Register your Android app: add your applicationId (e.g.,
com.example.myapp). - Download
google-services.jsonand place it inapp/of your project. - Add your SHA-1 and SHA-256 fingerprints in Project Settings > Your apps > Android (required for Google Sign-In and recommended for phone auth). You can generate with:
2. Add Gradle dependencies
Use the Firebase Android Bill of Materials (BoM) to manage versions consistently. As of now, the recommended BoM is 34.18.0. If you’re not using the BoM, the current firebase-auth is 24.2.0, but BoM is simpler.
app/build.gradle(.kts)
Sync your project. The Google Services Gradle plugin uses google-services.json to configure your project automatically, including a default_web_client_id string we’ll use for Google sign-in.
Step 2: Enable providers in Firebase Console
- Go to Authentication > Sign-in method.
- Enable Email/Password (and optionally Email link if you plan to use passwordless later).
- Enable Google.
- (Optional) For Phone, add your SMS region policy and test phone numbers for development. Note: sending SMS requires a Cloud Billing account.
- Add google-services.json to the
app/module and apply the Google Services plugin. - Enter both SHA-1 and SHA-256 fingerprints in Firebase project settings.
- Enable the providers you’ll use: Email/Password, Google, Phone, or Email link.
- Confirm the default_web_client_id string exists after sync (for Google Sign-In).
- Whitelist your Authorized domains in Firebase Auth settings (needed for email link).
- For Phone auth, add test phone numbers for development; real SMS requires billing.
- Use the Firebase Local Emulator Suite for safe local testing when possible.
- On sign-out, clear Credential Manager state to avoid stale sessions.
Step 3: Build the Auth ViewModel (Kotlin + coroutines)
We’ll centralize sign-in and sign-out logic inside a ViewModel, expose the current user as a StateFlow for Compose, and add functions for email/password and Google sign-in. We’ll also show how to clear Credential Manager state on sign-out for a clean UX.
Step 4: Compose UI – sign up, log in, and Google Sign-In
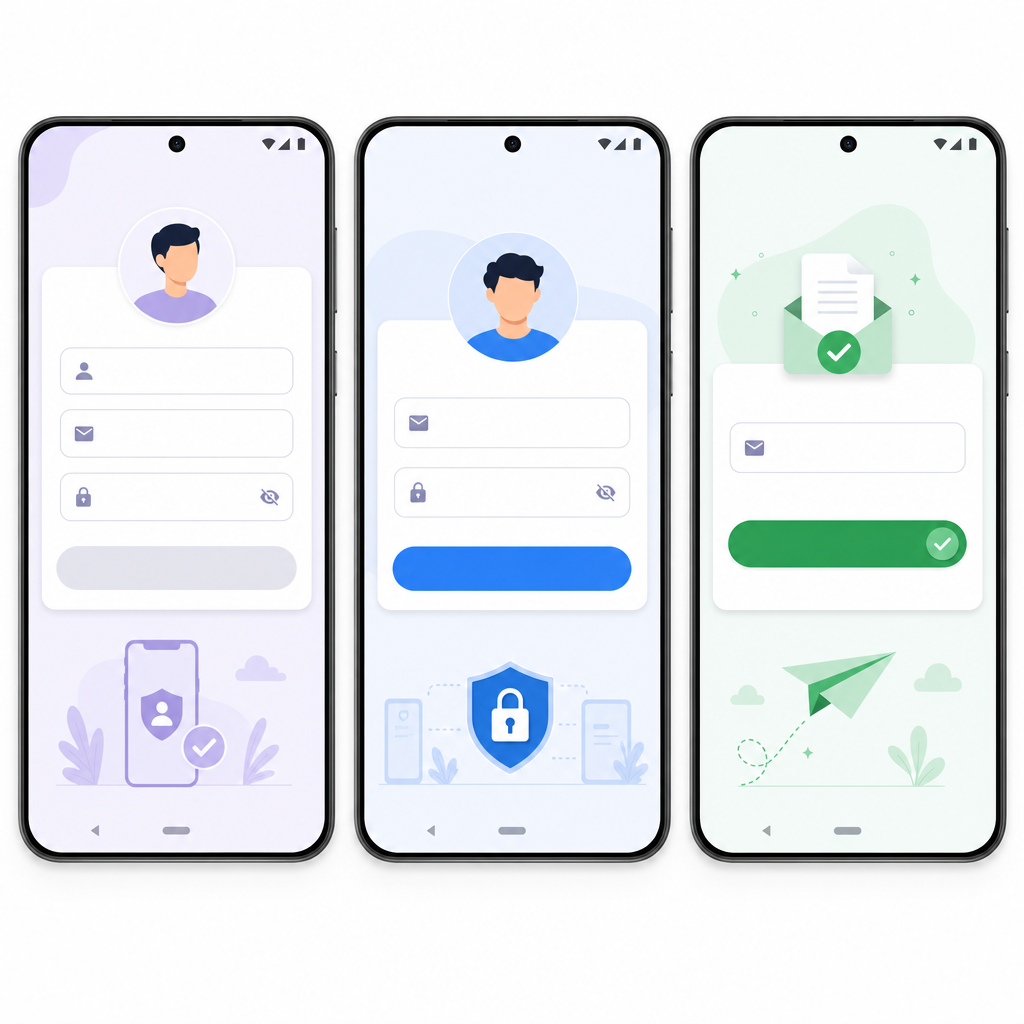
We’ll build a simple Compose screen with:
- Email and password fields
- Buttons for “Create account” and “Sign in”
- A “Continue with Google” button using Credential Manager
Wire the onSignOut to vm.signOut(context) in your actual screen or navigation host. In a larger app, observe vm.user to gate navigation (e.g., unauthenticated users cannot reach protected routes).
Step 5: Android Studio Firebase login with email and password
We already implemented the core methods with coroutines:
createUserWithEmailAndPassword(email, password)for sign-upsignInWithEmailAndPassword(email, password)for loginsignOut()to sign out
Common errors to handle gracefully:
- Invalid email: prompt the user to check formatting.
- Weak password: ensure at least 6 characters (or stronger if you enforce it).
- User collision (email already in use): suggest using “Sign in” instead of “Create account”.
Tip: If you also enable “Email link (passwordless)”, don’t expose users to email enumeration. Newer Firebase projects have email enumeration protection enabled by default, which can change what fetchSignInMethodsForEmail returns. Design your UX to handle unknown states gracefully.
Step 6: Kotlin Firebase Authentication for Android – Google Sign-In with Credential Manager
The recommended way to add Google Sign-In today is with Android’s Credential Manager and the Google ID library. Don’t use the old GoogleSignInClient. Our ViewModel code shows the full flow:
- Build a
GetGoogleIdOptionwith yourdefault_web_client_id(server client ID fromgoogle-services.json). - Launch
CredentialManager.getCredential(...)to present the native account picker. - Extract the ID token via
GoogleIdCredential.createFrom(...). - Exchange with Firebase using
GoogleAuthProvider.getCredential(idToken, null). - On sign-out, call
CredentialManager.clearCredentialStateto reset saved state.
This works back to API 19 and pairs nicely with Compose.
Optional: Link accounts into a single user
If a user first creates an account with email/password and later taps Google Sign-In, link it so they keep one profile and UID:
Use this pattern for any provider, e.g., link phone or email link later.
Phone number and email-link basics (what to know as a beginner)
Phone number sign-in
- Firebase phone auth uses Play Integrity for app verification on Android. Add your SHA-256 fingerprint in Firebase project settings.
- If Play services aren’t available, reCAPTCHA is used as a fallback.
- From September 2024, sending SMS codes requires a Cloud Billing account even on the Spark plan. Use test numbers in Console for development to avoid charges.
Official guide: Authenticate with Firebase on Android using a Phone Number (link below).
Email link (passwordless)
- Use the modern Hosting-based email link flow (SDK v23.2.0+ / BoM v33.9.0+). Don’t use Dynamic Links for this use case; it was migrated.
- Configure Authorized Domains in Firebase Auth settings and set up Android App Links to complete sign-in in-app.
Project structure tips for beginners
- Keep auth code in a dedicated module or package (
auth/), with a ViewModel exposingStateFlow<FirebaseUser?>. - Gate Compose navigation based on
user != null; redirect unauthenticated users to your login screen. - Use the Firebase Local Emulator Suite for safe local testing (no accidental SMS or email costs).
Security checklist
- Verifying users on your server? Always verify the Firebase ID token using Google’s libraries on the backend. Do not trust a raw UID alone.
- Use Firebase Security Rules for Firestore/Storage and scope data by
request.auth.uid. - Consider multi-factor auth (SMS or TOTP) by upgrading to Firebase Authentication with Identity Platform if your app needs stronger security.
Java/XML note for classic views
This tutorial focuses on Kotlin + Compose because that’s the modern Android path. If you’re a Java beginner using XML layouts, Firebase Auth works the same conceptually: initialize FirebaseAuth, call createUserWithEmailAndPassword, signInWithEmailAndPassword, and use Credential Manager for Google Sign-In. The main difference is wiring click listeners to start the credential flow and observing auth changes (e.g., via FirebaseAuth.AuthStateListener) to update your activities/fragments.
Output / Result
By the end of this tutorial, your Android app can:
- Create a new account with email and password.
- Sign in with email/password or “Continue with Google.”
- React to login state in real time (show Home when signed in, Login when signed out).
- Sign out and clear Credential Manager state so the next sign-in is clean.
- Optionally link Google to an existing email/password user to keep one account.
Common mistakes and how to fix them
- Forgetting SHA-1/SHA-256: Google Sign-In and phone auth will fail. Add fingerprints in Firebase settings and re-download
google-services.jsonif needed. - Using legacy GoogleSignInClient: Switch to Credential Manager + Google ID library for a supported flow.
- Assuming phone auth works without billing: You can test with fictional numbers, but real SMS requires a billing account.
- Not clearing Credential Manager state on sign-out: Users may see stale sessions. Call
clearCredentialState. - Relying on
fetchSignInMethodsForEmailfor identifier-first UX: With email enumeration protection, design the flow to avoid leaking whether an email exists.
FAQ: People Also Ask
What is Firebase Authentication in Android and why use it?
It’s a managed identity service that lets your Android app sign users in with providers like email/password, Google, phone number, or email link. It saves months of backend work, integrates with other Firebase products, and follows modern security and Android UX patterns.
How do I set up Firebase Authentication in Android Studio?
Add your app to a Firebase project, place google-services.json in app/, enable providers in Firebase Console, add the Google Services plugin, and include firebase-auth-ktx using the Firebase BoM. Then write sign-in code (email/password, Google with Credential Manager) and observe auth state to update your UI.
How can I implement email and password login with Firebase in Android?
Use FirebaseAuth:
createUserWithEmailAndPassword for sign-up, signInWithEmailAndPassword for login, and signOut to sign out. With coroutines, call await() on the returned Tasks and handle exceptions to show friendly error messages.
How do I add Google Sign-In using Firebase in an Android app?
Use Credential Manager and the Google ID library. Build GetGoogleIdOption with your default_web_client_id, get a Google ID token via CredentialManager.getCredential, exchange it with Firebase using GoogleAuthProvider.getCredential, and update your UI based on auth state. Clear Credential Manager state on sign-out for best UX.
Is Firebase Authentication free for Android apps and what are the limits?
Email/password and Google sign-in are free on the Spark plan. Phone auth requires a billing account to send real SMS, though you can use test numbers for development. Review the Firebase pricing page for quotas and regional costs before launching.
Troubleshooting quick tips
- Google sign-in fails with “12501” or similar: Ensure SHA-1/256 are added and the correct
default_web_client_idis used. - “This operation is not allowed” on email/password: Check the provider is enabled in Firebase Console.
- Phone code not arriving: Use test numbers in Console while developing; verify SMS region policy and billing for real numbers.
- “Blocked by CORS” on backend verify: Verify Firebase ID tokens using official admin SDKs on the server instead of calling Google endpoints from the client.
Summary: How to use Firebase Authentication in Android
You set up Firebase with the Android BoM, enabled Auth providers, built a Kotlin ViewModel with coroutines to handle login flows, implemented email/password and Google Sign-In using Credential Manager, observed auth state with StateFlow, and cleaned up on sign-out. From here, you can expand with phone auth, email link sign-in, account linking, and multi-factor authentication as your app grows.
Sources / Further reading
- Firebase Android setup: https://firebase.google.com/docs/android/setup
- Get started with Firebase Authentication on Android: https://firebase.google.com/docs/auth/android/start?hl=en
- Authenticate with Google on Android (Firebase + Credential Manager): https://firebase.google.com/docs/auth/android/google-signin
- About Sign in with Google (Credential Manager): https://developer.android.com/identity/sign-in/credential-manager-siwg
- Phone number auth on Android: https://firebase.google.com/docs/auth/android/phone-auth
- Email link auth (passwordless): https://firebase.google.com/docs/auth/android/email-link-auth
- Android SDK release notes (BoM and library versions): https://firebase.google.com/support/release-notes/android
- Auth FAQ and troubleshooting: https://firebase.google.com/docs/auth/faq-and-troubleshooting
Keywords used naturally: How to use Firebase Authentication in Android, Firebase Authentication Android tutorial, Android Studio Firebase login, Firebase email password authentication Android, Kotlin Firebase Authentication for Android, Java Firebase Authentication for Android, how to use Firebase Authentication in Android step by step, add email and password login with Firebase in Android Studio, beginner guide to Firebase Authentication in Android Kotlin, create account and sign in with Firebase Auth on Android, set up Google sign in with Firebase in Android app.