
If you’re new to Android development and wondering how to publish Android app on Google Play Console, this beginner-friendly guide walks you through every step—from preparing your signed release build in Android Studio to completing policy declarations and rolling out your first production release. We’ll use modern tools and practices, clarify common review blockers, and answer the top questions students and Java/Kotlin beginners usually ask.
Who this guide is for
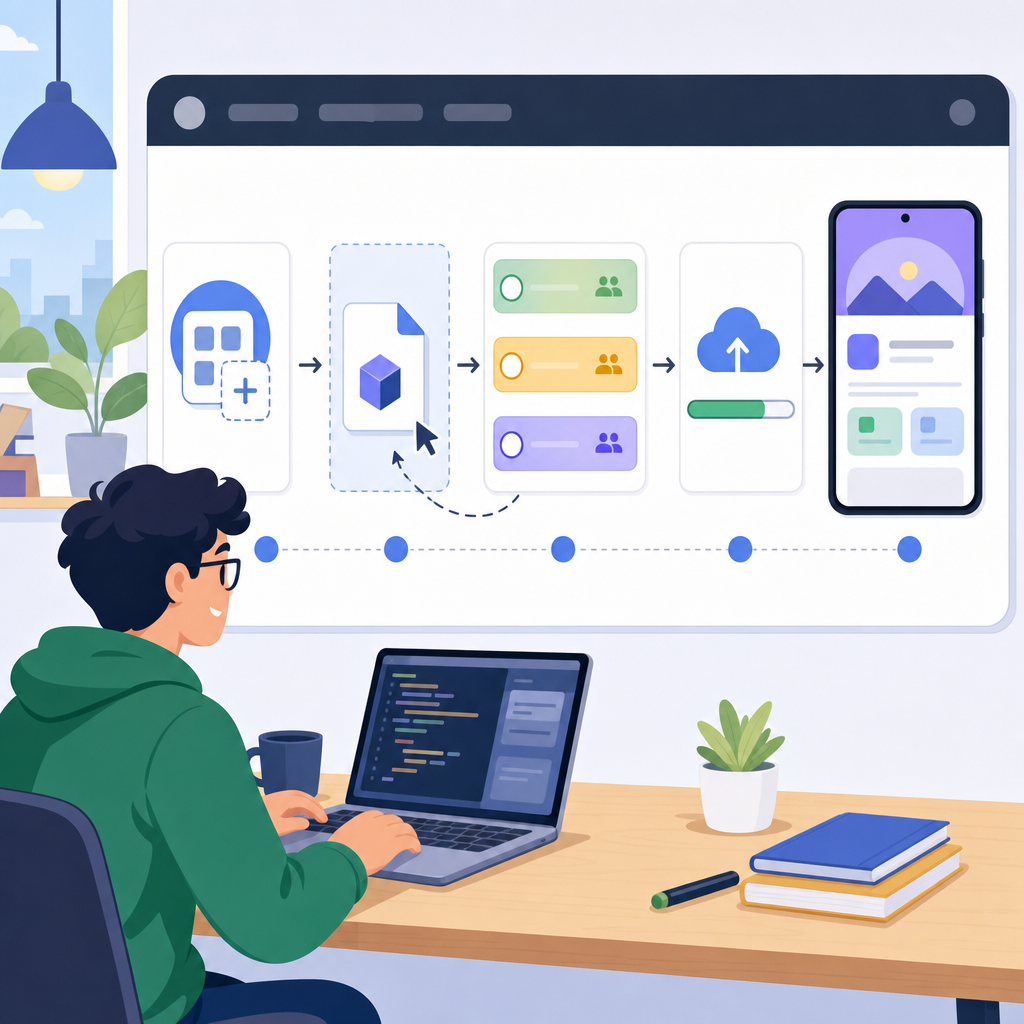
This tutorial is for students, beginners, Android learners, and Java/Kotlin developers who want a clear, step-by-step path to publish an Android app on Google Play. We’ll cover both the technical build steps (sign and build release in Android Studio) and the Play Console workflow (store listing, policy, testing, and review).
Before you start: What you need
- A working Android app project (Kotlin recommended, Java is fine)
- Android Studio latest stable version
- Google account and a Google Play Developer account (one-time registration fee)
- Store listing assets: app icon, feature graphic (1024×500, JPG or 24-bit PNG, no alpha), and screenshots
- A hosted Privacy Policy URL (required for all apps)
- Test devices or Firebase Test Lab access for quality checks
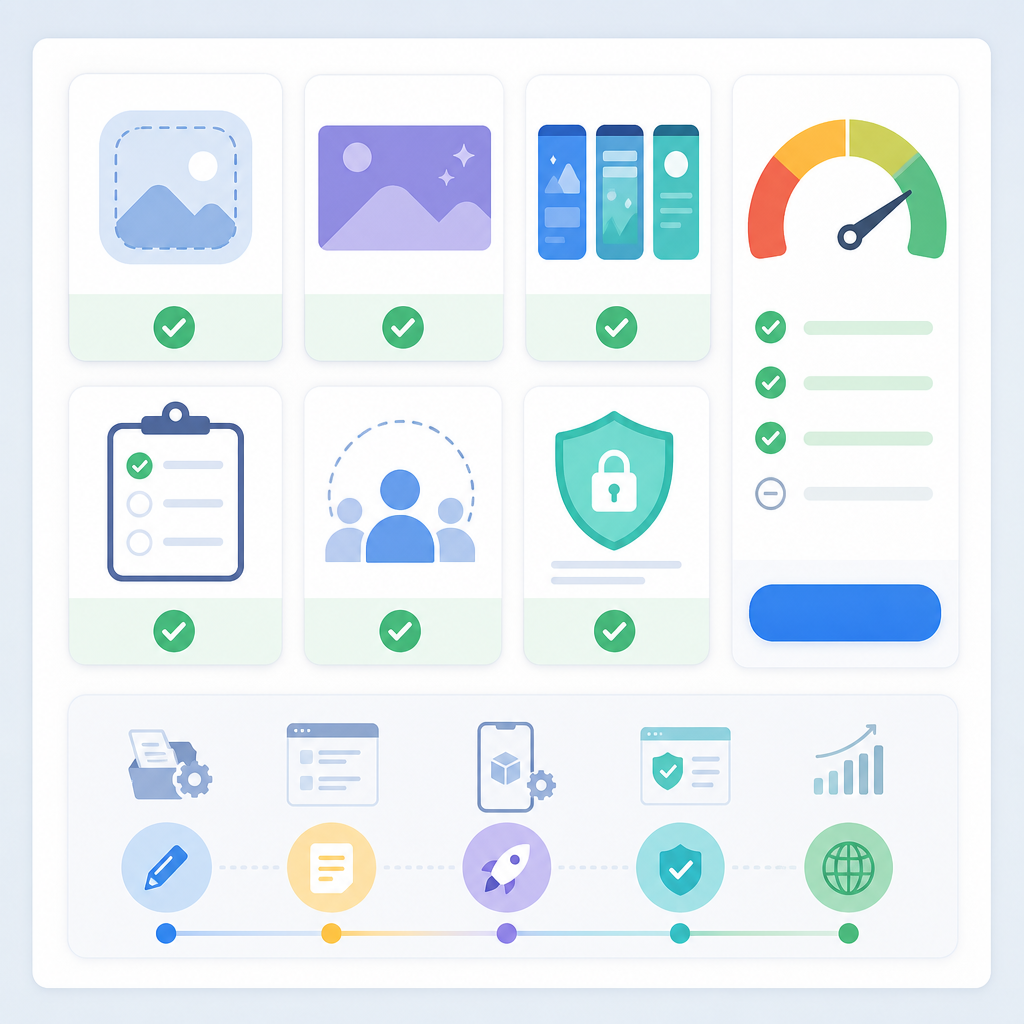
Publishing checklist at a glance
- Create Google Play Developer account
- Prepare release build: sign and generate Android App Bundle (AAB)
- Create your app in Play Console and complete dashboard tasks
- Fill App content: Data safety, content rating (IARC), ads declaration, permissions justifications, privacy policy
- Upload AAB, add release notes, and run internal/closed testing
- Fix issues from the Pre-launch report and policy checks
- Roll out to production with staged rollout or managed publishing
Step 1: Create your Google Play Developer account
To publish to Google Play, you must create a Google Play Developer account. Individual or organization accounts are supported. Follow the registration flow in Play Console and pay the one-time fee. Keep your developer name and contact details professional; they appear on your public store listing.
Note for first-time/personal accounts: After November 13, 2023, some new personal developer accounts must complete a qualifying closed test with at least 12 testers continuously opted-in for 14 days before requesting production access. Plan your timeline accordingly.
Step 2: Prepare and sign your release build in Android Studio
New apps on Google Play must use Android App Bundles (AAB) with Play App Signing. APK uploads aren’t accepted for new apps. You will sign locally with an upload key and enroll the app into Play App Signing so Google secures the app signing key used for distribution.
2.1 Generate your upload key
You can create an upload keystore from the command line:
Store the keystore path, alias, and password somewhere safe. Do not commit it to version control.
2.2 Configure signing in Gradle (Kotlin DSL)
In your module’s build.gradle.kts, add a signing config that reads secrets from environment variables or a local properties file:
2.3 Build a release AAB
In Android Studio: Build > Generate Signed App Bundle / APK > Android App Bundle > choose release keystore. The output file ends with .aab.
Tip: Upload your mapping.txt later (from app/build/outputs/mapping/release/) so crashes in Play Console are deobfuscated. If you include native code, also upload debug symbols.
2.4 Enroll in Play App Signing
When you upload your first release for a new app, Play prompts you to enroll in Play App Signing (required). After enrollment, Google holds the app signing key and signs your distributed APKs. If you use APIs like Google Maps, add the Google-held signing certificate’s SHA-256 fingerprint to those service dashboards.
Step 3: Create your app in Play Console
In Play Console, click Create app. Choose a unique app name, default language, and app type (app/game), and indicate whether your app contains ads. After creation, you’ll see the App dashboard with tasks to complete before publishing.
3.1 Prepare store listing on Google Play
Under Store presence > Main store listing:
- App name, short description, full description (clear, honest, keyword-relevant but not stuffed)
- App icon: 512×512, 32-bit PNG
- Feature graphic (required): 1024×500, JPG or 24-bit PNG without alpha
- Screenshots for relevant form factors: phones, tablets, Chromebook, Wear, TV, XR (as applicable)
- Category, tags, and contact details (email and website)
- Pricing & distribution: set Free or Paid; select countries/regions
Tip: If your app runs great on large screens, upload tablet/Chromebook screenshots to improve discovery.
Step 4: App content, privacy, and policy declarations
Google Play requires accurate disclosures before publishing. In App content, complete these sections carefully:
4.1 Data safety form
Declare what data your app collects, shares, encrypts, and why. Be precise and consistent with your actual code and SDKs. Changes require updates to this form. See “Provide information for Google Play’s Data safety section” in the sources below.
4.2 Privacy Policy
A Privacy Policy URL is required for all apps, even if you don’t collect data. Host it on your website or GitHub Pages, and make sure it matches your Data safety disclosures and includes contact information. If users can create accounts, you must also provide a web-accessible method to request account deletion.
4.3 Content rating (IARC)
Fill the IARC questionnaire honestly to get your content rating. Inaccurate ratings can cause rejection or removal.
4.4 Target audience and ads
Set your target age group. If children are included, ensure families policies compliance. Declare whether your app shows ads.
4.5 Permissions and sensitive APIs
If you request high-risk permissions (for example, SMS, Call Log, Accessibility), you must justify usage with valid policy-allowed use cases and may need extra declarations.
4.6 Target API level policy
From August 31, 2026, new apps and updates must target Android 16 (API 36). Existing apps must meet availability minimums to remain installable on newer Android versions. Extensions to November 1, 2026 may be requested. Update your targetSdkVersion and test thoroughly.
Step 5: Testing tracks and quality checks
Before going to production, use testing tracks to find issues earlier:
- Internal testing: fastest, up to 100 testers, great for quick sanity checks
- Closed testing: invite testers via email or Google Groups; collect feedback and ratings privately
- Open testing: anyone can join; good for broader feedback
New personal developer accounts often require a closed test with at least 12 testers continuously opted-in for 14 days before you can request production access.
5.1 Pre-launch report
After uploading a test release, enable the Pre-launch report to run your app on a range of real devices in Firebase Test Lab. Fix crashes, ANRs, performance issues, and policy issues (for example, broken links to privacy policy) before review.
5.2 Provide test credentials
If your app requires login, add test account credentials in the release notes so Play can perform automated checks. Use a throwaway account and clearly mark its scope.
Step 6: Upload your AAB and deobfuscation files
Go to Production > New release (or a testing track) and upload your .aab. Add concise, human-readable release notes. Verify:
- Generated APKs and device coverage look correct (Release > App bundle explorer)
- App size is reasonable (combined up to 4 GB)
- Upload mapping.txt (and native debug symbols if applicable) so crash reports are readable
If you see device exclusions you didn’t expect, check your manifest features (for example, removable hardware features that unintentionally exclude devices).
- Signed AAB built with incremented
versionCodeand correctversionName. - Store listing complete: icon, screenshots, and required 1024×500 feature graphic.
- Working, publicly accessible Privacy Policy URL that matches Data safety disclosures.
- App content completed: Data safety, content rating (IARC), target audience/ads, and any permissions justifications.
- Pre-launch report checked; crashes/ANRs/performance issues resolved.
- Test login credentials provided in release notes (if sign-in is required).
mapping.txtand native symbols uploaded for the release.- Target and compile against the required API level; verify behavior changes on modern devices.
- All in-app links (privacy, terms, support, account deletion) open successfully.
- Manifest features audited to avoid unintended device exclusions.
- Rollout plan chosen: staged rollout percentage or managed publishing toggle.
Step 7: Roll out strategy
- Managed publishing: get review approval first, then manually make the release live when you’re ready.
- Staged rollout: release to a small percentage (for example, 5–10%) and ramp up as metrics stay healthy.
- Prepare a simple support plan and a rollback path (keep a stable prior version ready).
Note: After your app is first published to an open track, your app signing configuration becomes fixed under Play App Signing.
Practical examples you’ll actually use
Example A: Add an “About” screen with Privacy Policy (Jetpack Compose)
Make it easy for users (and reviewers) to find your privacy policy.
Example B: Open privacy policy with a Custom Tab
Example C: Versioning and ProGuard tips
Keep semantic version names and increment versionCode for each release. Use minification and resource shrinking in release builds, then upload mapping files.
Fix common Play Console errors for first-time publishers
- Missing privacy policy: Add a working, publicly accessible URL in App content and on your website. All apps must have one.
- Data safety mismatch: Your SDKs collect data you didn’t declare. Audit dependencies, update the form, and explain purposes accurately.
- Target API too low: Update
targetSdkVersionto 36 and fix runtime behavior changes before resubmitting. - Content rating incomplete: Finish the IARC questionnaire and apply the generated rating.
- Broken feature graphic: Provide a 1024×500 image (JPG or 24‑bit PNG without alpha). This is required.
- Login gate with no test creds: Add test credentials to the release notes so automated checks can sign in.
- Device exclusions: Remove unnecessary hardware features from
AndroidManifest.xml(for example, make features not required:android:required="false"). - Crash/ANR in Pre-launch report: Reproduce locally or in Firebase Test Lab, fix, then upload a new build.
Timeline: How long does review take?
Most first-time reviews complete in a few days, but it can take about a week or longer, especially for new accounts or apps needing extra checks. Use Managed publishing if you want control over the exact go-live time after approval.
Output / Result
After you complete the dashboard tasks, upload your AAB, and pass policy checks, you’ll see your release move through statuses like “In review,” then “Approved.” If you enabled Managed publishing, you can click “Publish” to make it live; otherwise, it will roll out automatically based on your staged rollout percentage. Within a few hours, your app listing will be searchable to users in the selected countries and devices, and crash/freeze metrics will start appearing in Android vitals. Celebrate your first release—then watch feedback and plan your next update targeting API 36 compatibility and large-screen polish.
FAQ: People Also Ask
What do I need before publishing an Android app on Google Play?
You need a Google Play Developer account, a signed Android App Bundle (AAB), store listing assets (icon, screenshots, feature graphic), a publicly accessible privacy policy URL, and completed App content declarations (Data safety, content rating, target audience, ads, permissions).
Do I need a Google Play developer account to publish an app?
Yes. A Google Play Developer account is required to create apps, upload releases, and manage listings.
Should I upload an APK or an Android App Bundle (AAB)?
Upload an AAB. New apps must use Android App Bundles with Play App Signing. APK-only uploads aren’t accepted for new apps.
How long does Google Play review take for a new app?
Reviews generally take a few days and can extend to about a week or more for first-time publishers or apps needing additional checks. Use testing tracks and ensure policy compliance to avoid delays.
Can beginners publish an app made with Java or Kotlin?
Absolutely. Kotlin is recommended for new projects, but Java apps are fully supported. Focus on building a stable release build, accurate disclosures, and complete store listing assets.
Pro tips for your first production release
- Use Closed testing for meaningful feedback and to satisfy personal-account qualification requirements where applicable.
- Upload mapping.txt and native symbols so crash reports in Play Console are readable.
- Prepare short, clear release notes that explain what changed.
- Monitor Android vitals after rollout and pause if crash rates spike.
- Use custom store listings to tailor messaging by country or install state (returning vs new users).
Step-by-step recap: Publish Android app step by step
- Sign up or sign in to Play Console and create your app.
- In Android Studio, sign and build a release AAB using your upload key.
- Complete store listing with icon, screenshots, and required feature graphic.
- Fill App content: Data safety, privacy policy URL, content rating, target audience, ads, permissions.
- Upload your AAB to a testing track; run Pre-launch report and fix issues.
- For new personal accounts, run a qualifying closed test (12 testers, 14 days) if required.
- Upload mapping/symbols, add release notes, and request review.
- Use managed publishing or staged rollout to control go-live.
Why AAB and Play App Signing matter in 2026
Android App Bundles let Google Play deliver optimized APKs per device configuration, reducing app size and improving installs. With Play App Signing, Google secures your app signing key, and you use a separate upload key—safer and easier to rotate if compromised. Also, keep your app updated to target the latest API level—API 36 is required for new apps and updates by August 31, 2026—so your app remains installable and compliant with modern Android behavior changes.
Final thoughts
Publishing your first app is a learning milestone. Follow this beginner guide to publishing Android app on Google Play: prepare a clean, signed release; disclose data practices truthfully; test thoroughly; and roll out gradually. With each release, you’ll refine your store listing, improve quality with Play’s reports, and deliver a better experience to your users.
Sources / Further reading
- Upload your app to the Play Console (Android Developers)
- Use Play app signing (Play Console Help)
- Set up your app on the app dashboard (Play Console Help)
- Add preview assets to showcase your app (Play Console Help)
- Provide information for Google Play’s Data safety section (Play Console Help)
- User Data policy and Account deletion (Play Console Help)
- Meet Google Play’s target API level requirement (Android Developers)
- Target API Level Policy (Play Console Help)