
If you’re getting ready to publish, share a beta build, or distribute your app outside Google Play, you need to know how to generate a signed APK in Android Studio. This beginner-friendly guide walks you through creating a keystore and key alias, configuring Gradle securely, and using Android Studio Meerkat’s Generate APK flow—plus command-line options, troubleshooting tips, and when to choose an App Bundle (AAB) instead of an APK.
What is a signed APK and when should you use it?
A signed APK is an installable Android package that’s cryptographically signed with your private key. Android uses the signature to verify the app’s integrity and the identity of the publisher. Devices won’t install an unsigned APK, and users can only upgrade an app if the new APK is signed with the same key as the previous version.
Common reasons to export an APK from Android Studio:
- Sideloading for QA, demos, internal testing, or enterprise MDM distribution
- Publishing to alternative app stores
- Sharing builds on platforms like GitHub Releases, Firebase App Distribution, or TestFairy
Important for Google Play: new apps must use Android App Bundles (AAB). You still sign your upload, but you upload a signed AAB to Play Console, not an APK. Use a signed APK primarily for sideloading or non‑Play distribution.
Release build vs debug build (what changes?)
- Debug build: Signed automatically with a debug keystore generated by Android Studio. Intended for development only. It includes debug flags and is not optimized.
- Release build: You explicitly configure and sign this with your own keystore. It can enable code shrinking (R8), resource optimization, and other production settings.
Only a release build signed with your private key is suitable for distribution.
Keystore and key alias explained (beginner’s quick guide)
- Keystore file (.jks or .keystore): A password-protected file that securely stores one or more private keys.
- Key alias: A label for a specific key inside the keystore.
- Passwords: You’ll set one for the keystore and another for the private key. Keep them safe.
- Validity period: Use a long validity (e.g., 10,000 days ≈ 27 years) so you can keep updating your app in the future without changing keys.
Protect this file. Back it up. If you lose it and you’re not using Play App Signing, your users won’t be able to upgrade to future versions.
Step-by-step: Generate a signed APK in Android Studio (Meerkat)
This is the easiest “create signed APK step by step” flow for beginners.
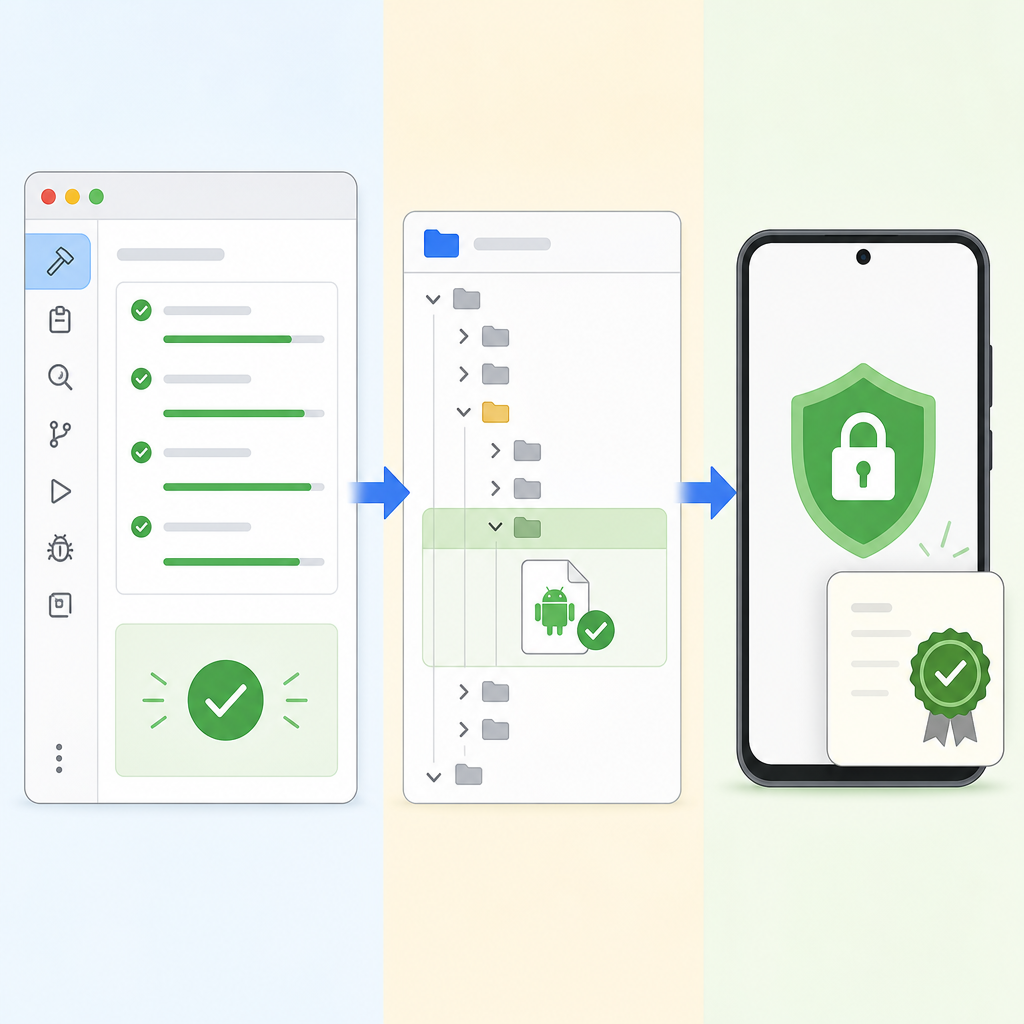
Bump versionCode/versionName
Select release build
Create/select, set passwords
Dialog or Gradle
Generate APK(s) or assembleRelease
apksigner, APK Analyzer
adb install, testers/MDM
- Open your project in Android Studio (Meerkat or newer).
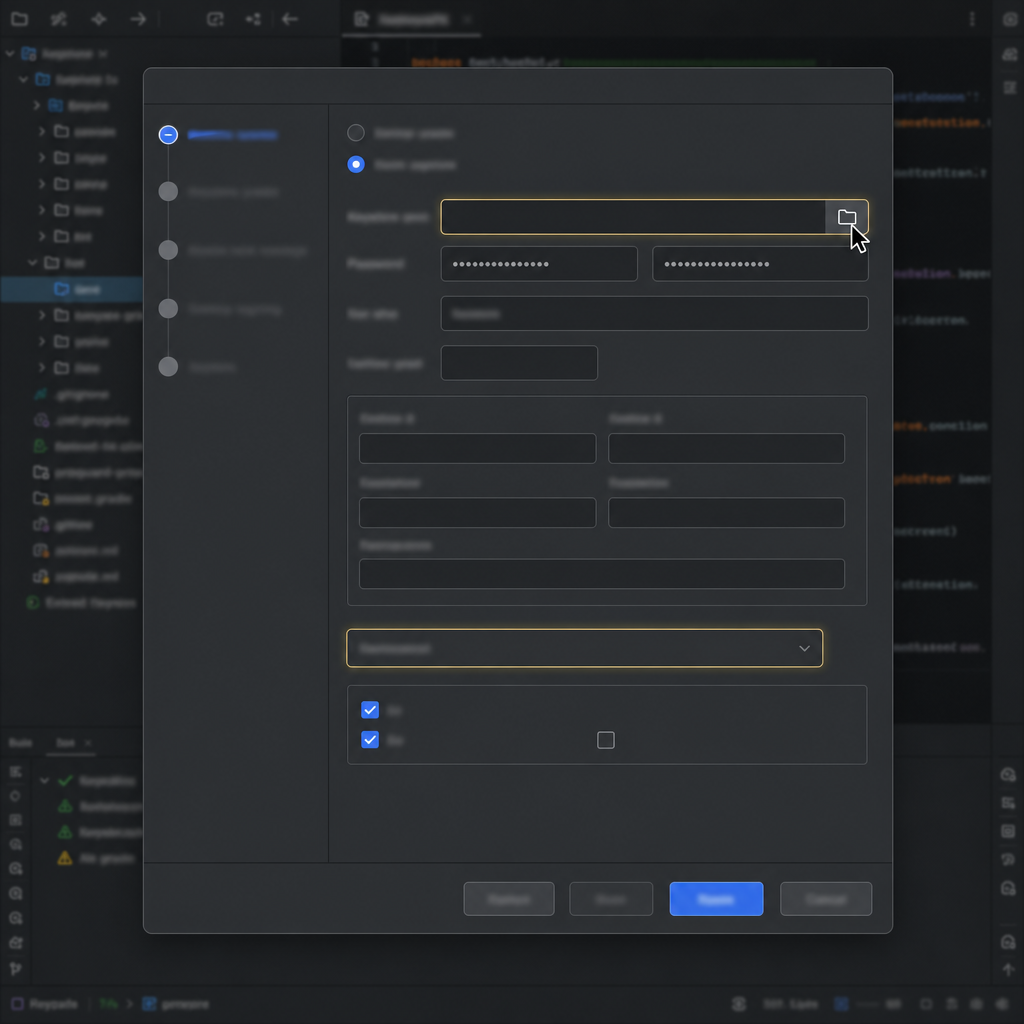
- From the menu, choose Build > Generate Bundle(s) / APK(s) > Generate APK(s).
- Pick the Module to build (commonly app).
- Under Key store path, click Choose existing if you already have a keystore, or Create new to make one now.
- If you create a new keystore, you’ll set the keystore location, keystore password, key alias name, key password, and certificate info. Choose RSA 2048+ and a long validity.
- Select the Build Variant as release (not debug).
- Click Next, review settings, and then click Finish.
Android Studio runs the release build and signs it with your keystore. When it completes, it shows a notification with a link to locate the file and open it in APK Analyzer.
Default output path looks like: app/build/outputs/apk/release/app-release.apk
Prefer App Bundle for the Play Store
If your goal is Google Play, choose Build > Generate Bundle(s) / APK(s) > Generate Signed Bundle / APK and select Android App Bundle instead. This creates a signed AAB for upload to Play. Google Play uses Play App Signing to deliver optimized APKs per device configuration.
Update your version and prepare a release build
Before you generate a signed APK, increment your version so users can upgrade. In app/build.gradle.kts:
That’s how to update version and build a signed APK cleanly: bump versionCode and versionName, then generate your release build.
- Increment versionCode/versionName.
- Switch to the release build variant.
- Create/select keystore and key alias; store passwords securely.
- Enable R8/resource shrinking if desired; keep rules updated.
- Remove debug-only code, logs, and test-only permissions.
- Set up Gradle signing (env vars or keystore.properties) for repeatable builds.
- Back up keystore and note SHA-1/SHA-256 fingerprints.
Post-build checklist
- Verify signature:
apksigner verify --print-certs app-release.apk. - Open APK Analyzer: check manifest, permissions, and size.
- Install test: emulator or
adb install -r app-release.apkon a device. - Archive artifacts: APK, ProGuard/R8 mapping, commit/tag, fingerprints.
- Distribute: testers, MDM, or alternative store as needed.
Configure signing in Gradle (secure and repeatable)
Instead of entering passwords in dialogs every time, store signing configs outside VCS and wire them into Gradle. This is the recommended Android Studio signing guide for beginners who want a robust setup.
Option A: Environment variables (CI-friendly)
Option B: Untracked keystore.properties file
Create keystore.properties in your root project folder and do not commit it:
Load it in app/build.gradle.kts:
Now you can build a signed release from the command line or IDE without retyping credentials.
Create a keystore from the command line
If you didn’t create a keystore through Android Studio, you can generate one with the Java keytool:
Keep release.jks safe and backed up securely.
Build, sign, and verify from the command line
Assemble a release APK with Gradle
Output: app/build/outputs/apk/release/app-release.apk
Sign an APK explicitly with apksigner (if needed)
If your Gradle config didn’t sign the APK, use apksigner (recommended over jarsigner for APKs):
Verify the signature
Signed APK vs App Bundle (AAB): which should I choose?
- For Google Play: Use a signed AAB. Play App Signing manages the distribution key and delivers optimized APKs per device. New apps can’t upload APKs.
- For sideloading and non‑Play distribution: Use a signed APK.
| Aspect | Signed APK | Android App Bundle (AAB) |
|---|---|---|
| Primary use | Sideloading, enterprise MDM, alternative stores, direct sharing | Google Play uploads (required for new apps) |
| Where you upload/distribute | Directly to users or third‑party stores | Play Console only |
| Delivery to users | Single APK for all configs | Play splits into device‑optimized APKs |
| Typical size | Larger (includes all ABIs/resources) | Smaller per device (optimized delivery) |
| Signing model | Your keystore signs the installable file | You sign the AAB (upload key); Play signs installable APKs |
| Commands/UI | Generate APK(s), ./gradlew assembleRelease, apksigner |
Generate Signed Bundle, ./gradlew bundleRelease |
| When to choose | Testing, demos, internal or non‑Play distribution | Publishing on Google Play |
Beginners often ask about “build signed app bundle vs APK for beginners.” The rule of thumb is simple: Play Store = AAB; everything else = APK.
Play App Signing essentials (upload key vs app-signing key)
- You sign your uploads (AAB) with an upload key stored in your keystore.
- Google stores a separate app-signing key and uses it to sign the installable APKs distributed to users.
- You cannot download the private app-signing key from Google Play. You can, however, download the certificate for API whitelisting if needed.
- Key rotation is supported by Play if you ever need to upgrade keys.
Troubleshooting common issues
Android Studio cannot find keystore
- Double-check the absolute path in the Generate APK dialog or Gradle signing config. On Windows, escape backslashes (
C:\keys\release.jks) or use forward slashes. - Make sure the file is included on your machine and not only in a cloud path with restricted permissions.
- If you use
keystore.properties, ensure the file exists and thatstoreFilepoints to the correct relative/absolute path.
“Keystore was tampered with or password incorrect”
- Confirm both the keystore password and the key password. They can be different.
- Verify the alias name is correct:
keytool -list -v -keystore release.jks - If the keystore file is corrupted (e.g., due to sync issues), restore it from a backup.
- Ensure you didn’t accidentally use a different keystore than the one used for previous releases.
Updates failing to install (App not installed)
- The new APK must be signed with the same key as the installed version. If signatures differ, users must uninstall the old app first (data loss risk).
- Also ensure you incremented
versionCodeinbuild.gradle.kts; Android won’t install an “upgrade” with the same or lower version code.
Gradle builds a debug/test APK instead of release
- The Run/Play button typically builds a debug or testOnly APK that isn’t for distribution.
- Use Build > Generate Bundle(s) / APK(s) > Generate APK(s) or run
./gradlew assembleRelease.
Security and best practices
- Back up your keystore and store passwords in a secure vault.
- Use strong passwords and modern algorithms (RSA 2048+). Avoid committing secrets to version control.
- Enable v2 and v3 signing. Keep v1 signing enabled only if you still support very old devices (Android 6.0 and below).
- Prefer environment variables or an ignored properties file for local dev; use CI secrets for automated builds.
Output / Result
After you generate a signed release in Android Studio, you’ll see:
- APK path:
app/build/outputs/apk/release/app-release.apk - Notification: Build successful with a link to open the APK in APK Analyzer (view sizes, manifest, signatures)
- Install test: Drag the APK onto an emulator or use
adb install -r app-release.apkon a device with USB debugging to verify installation
Quick reference: exporting a signed APK (beginner checklist)
- Increment
versionCode/versionNameinbuild.gradle.kts. - Create or select your keystore and key alias.
- Use Build > Generate Bundle(s) / APK(s) > Generate APK(s) and choose release.
- Optionally wire up Gradle signing for repeatable builds.
- Verify with
apksigner verifyand test install.
FAQ (People Also Ask)
What is a signed APK and why do I need it?
A signed APK is an Android package signed with your private key. Android verifies the signature to ensure the app hasn’t been tampered with and to identify the publisher. Devices won’t install unsigned apps, and users can only upgrade if the signature matches the installed version.
How do I create a keystore and key alias in Android Studio?
Go to Build > Generate Bundle(s) / APK(s) > Generate APK(s) > Create new. Choose a keystore path, set the keystore password, key alias, key password, and certificate details. Android Studio will save the keystore and use it to sign your release build.
Should I use a signed APK or an Android App Bundle for the Play Store?
Use a signed App Bundle (AAB) for the Play Store. Google Play requires AAB for new apps and uses Play App Signing to deliver optimized APKs. Use a signed APK for sideloading, enterprise distribution, or other stores.
How do I update an app using the same keystore so users can upgrade?
Keep using the same keystore and key alias you used for the previous release, and increment versionCode. Builds signed with the same key will install as updates on user devices.
How can I fix the “Keystore was tampered with or password incorrect” error in Android Studio?
Verify you’re using the correct keystore file, alias, and both passwords. Check the alias with keytool -list -v -keystore your.jks. Restore a clean copy from backup if the file is corrupted. Ensure the Gradle config and IDE dialog reference the same keystore.
Common variations and extra tips
- How to make a keystore file in Android Studio: Use the Generate APKs dialog’s Create new flow or run the
keytoolcommand shown above. - Generate signed APK for Google Play release: Prefer a signed AAB for Play. For non‑Play release scenarios, the signed APK steps above apply.
- Fix Android Studio cannot find keystore: Use absolute paths and verify file permissions. For CI, supply
KS_PATHand other environment variables. - Build signed app bundle vs APK for beginners: AAB for Play; APK for sideloads/other stores.
- How to update version and build a signed APK: Increment
versionCode/versionNameand repeat the Generate APK flow or run./gradlew assembleRelease.
Complete example: minimal signing setup (Kotlin DSL)
Wrap-up
You’ve learned exactly how to generate a signed APK in Android Studio, how to create and use a keystore and key alias, how to export APKs for non‑Play distribution, and how to configure Gradle for reliable CI/CD builds. For Google Play, build and upload a signed AAB instead. Whether you choose the IDE’s Generate APK flow or a command-line pipeline with keytool, gradlew, and apksigner, you now have a safe, repeatable release process.